

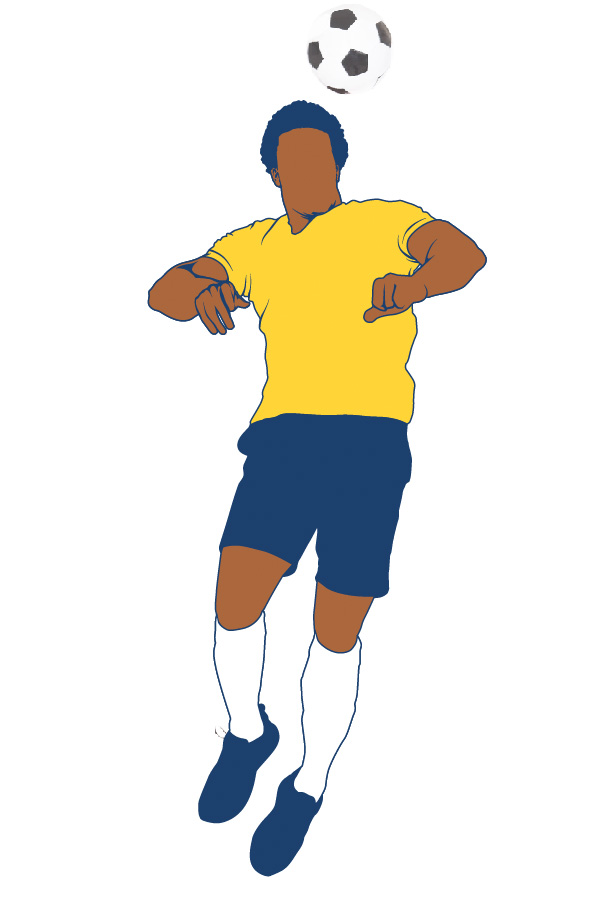
Love football? The 2014 World Cup in Brazil starts today! In this tutorial, I decided to create a bright illustration with a retro style effect but with a nod to the hosting teams colors, all in Adobe Illustrator.
1. Prepare Your Workspace
You will need: Adobe Illustrator, a stock photo of a footballer and a graphics tablet.Step 1
Lets create a New Document in Adobe Illustrator with following settings.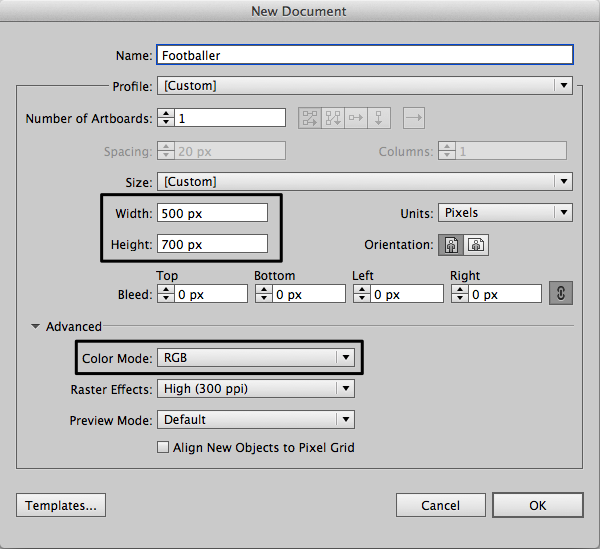
Step 2
You need some picture of footballer to be used as derivative. I found amazing image on Photodune. There are a lot of photos with football players available, however I picked this one because it has nice lighting and a good dynamic pose.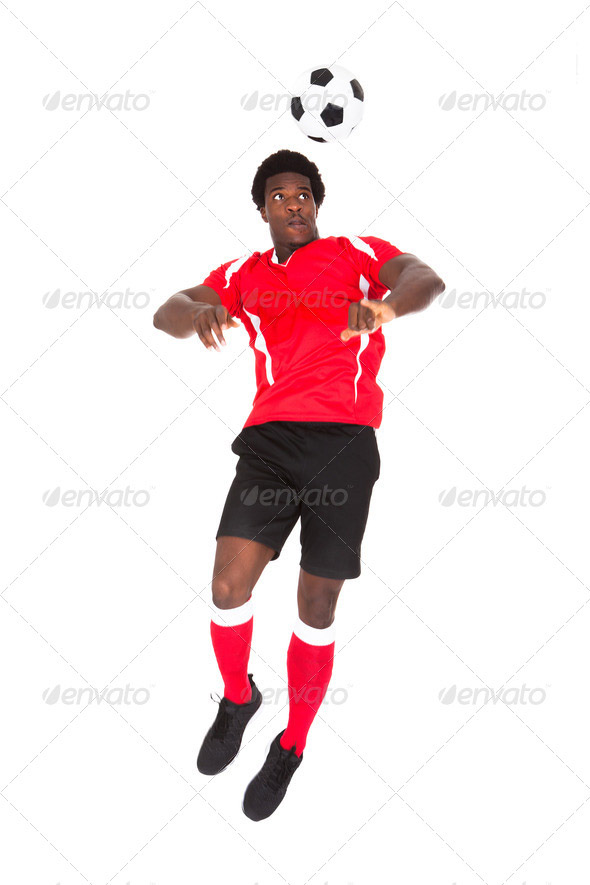
Step 3
Drag and drop your picture on the current layer. Open the Layer Settings by clicking double on this layer. Rename it as Picture and use the following settings.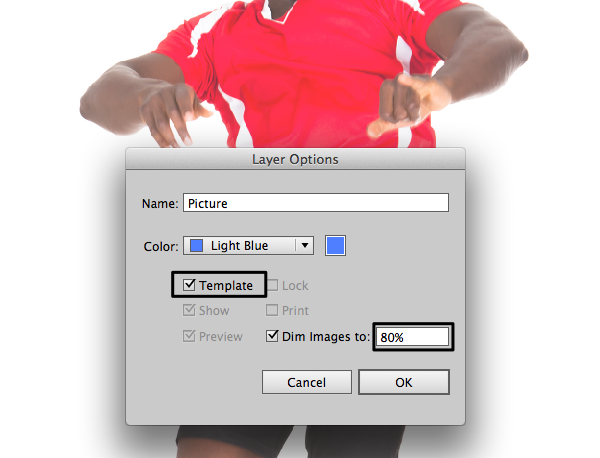
Step 4
Let's create and add some retro colors in the Swatches panel. The colors have to be strong, contrasting and bright. Go to the Color panel and play with the RGB settings.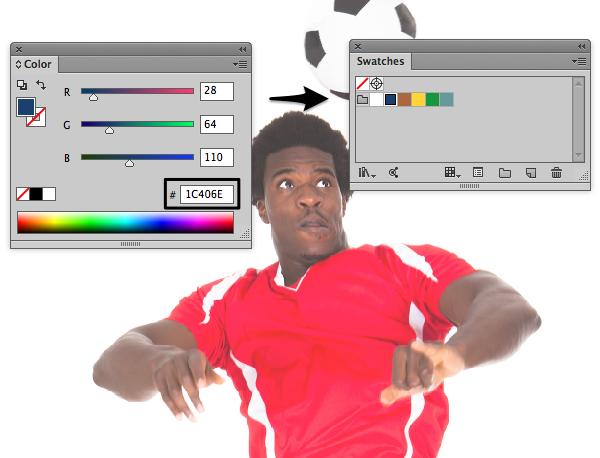
#FFFFFF, #AB673D, #AB673D, #FFD438, #179840, #66999C. You can use them or create your own.2. Create the Main Shapes
Step 1
Create a New Layer above the stock image layer. Choose the dark blue color as Fill color. Lets create the main contour shape with Pen Tool (P).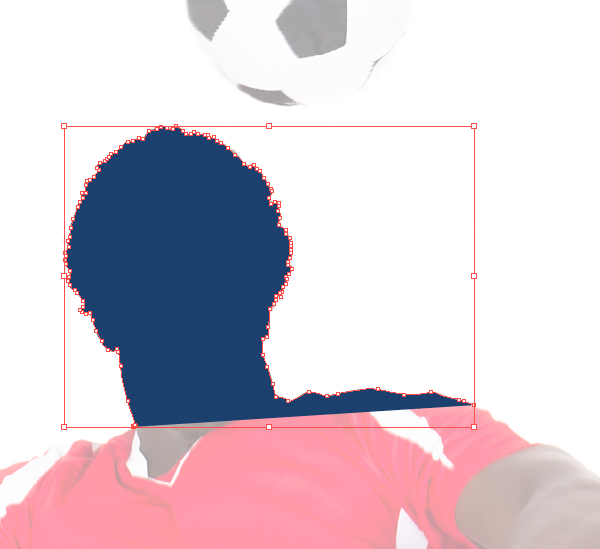
Use Preview mode (View > Preview) to see outlines only. Its great way to make this process much easier.
Step 2
When you have finished with the main shape select it and create one more contour by going to Object > Path > Offset Path. Lock the generated path (Object > Lock > Selection).
Step 3
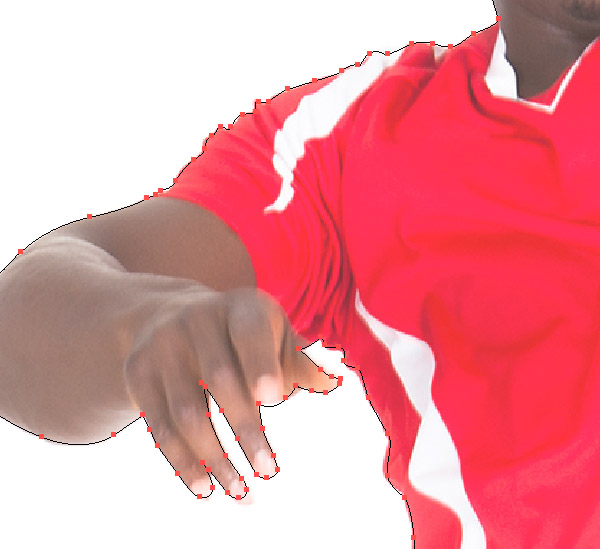
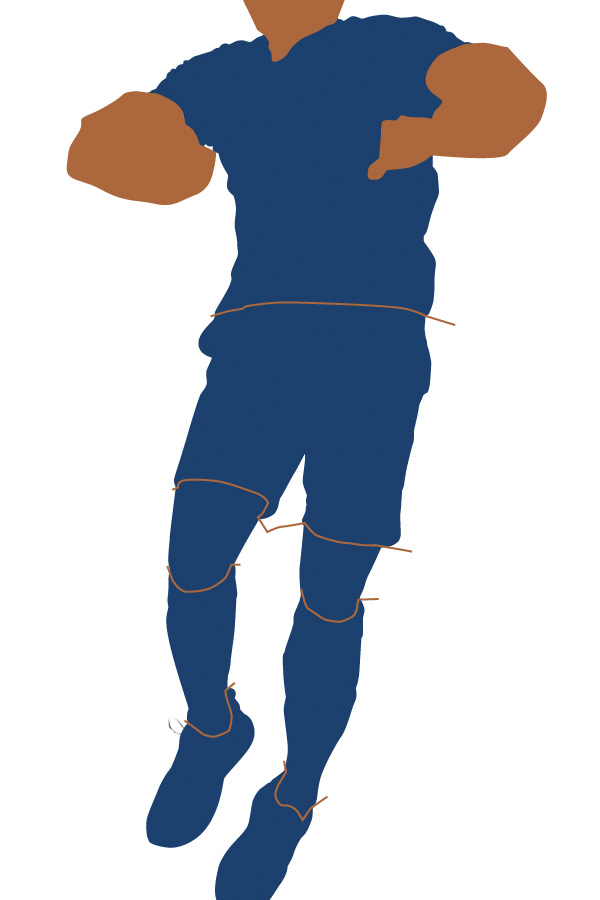
Let's divide the original shape into several basic parts: head, hands, feet and clothes. Still using the Pen Tool (P) create a new shape of the face above the main shape.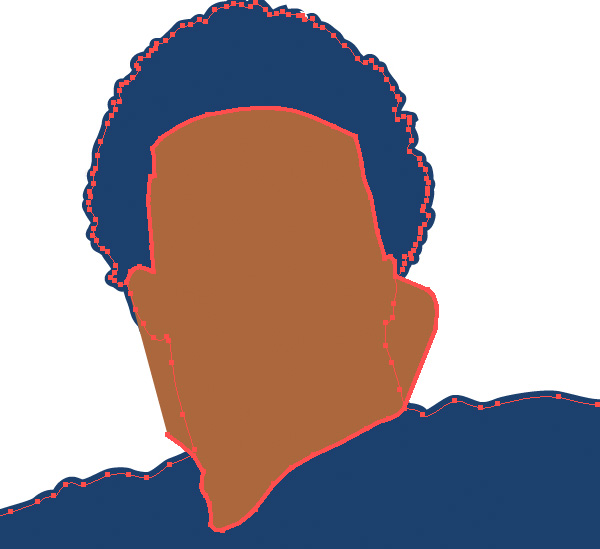
Actually it's not required for the shapes to be closed. You can just make some contour lines in the areas where the main shape will be divided.
Step 4
After that, select all shapes (except offset and locked one of course) and click the Divide button in the Pathfinder panel. Then Ungroup (Object > Ungroup) this all and remove any unnecessary stay objects.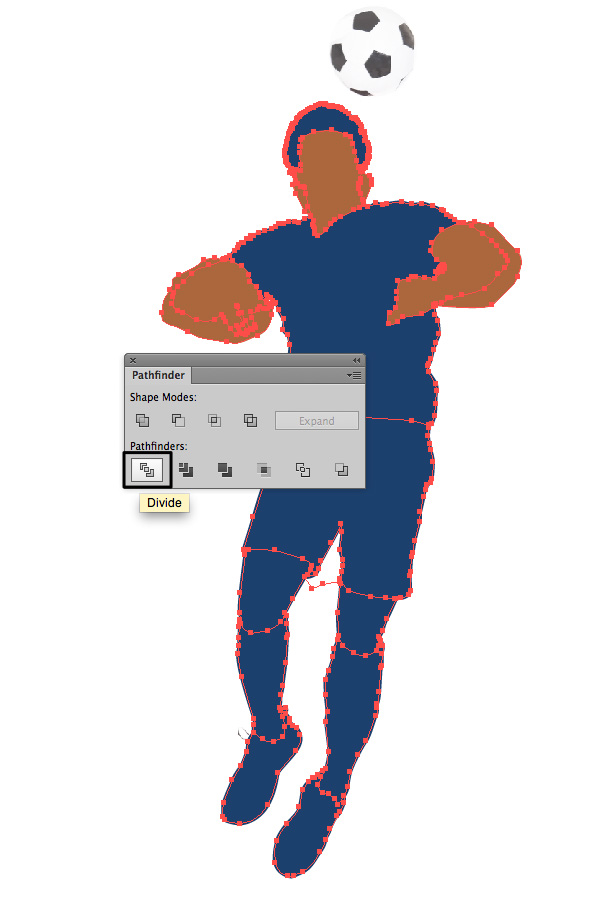
Step 5
Select each piece and change the Fill color using the swatches you created before.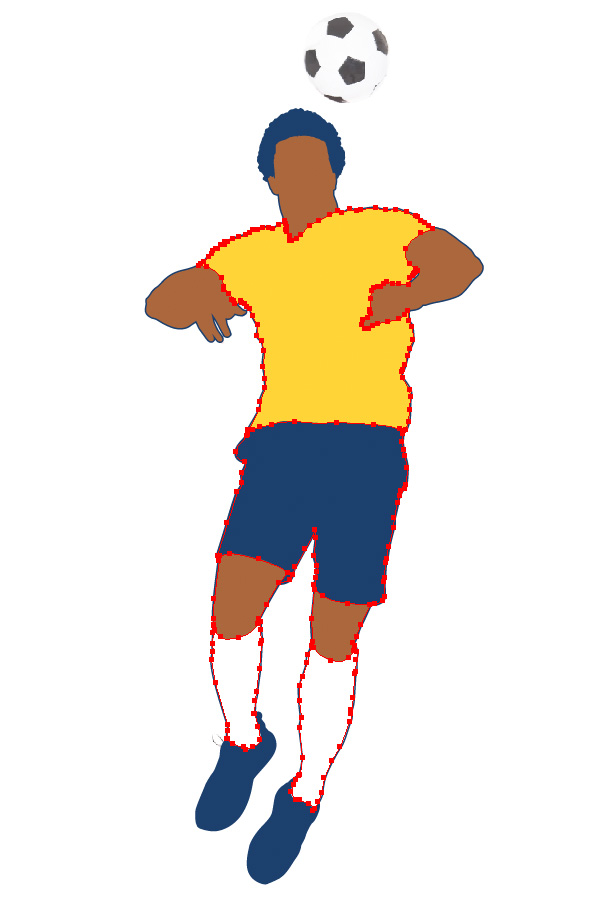
Step 6
Add more deep blue contours in the places which needs strong contrast.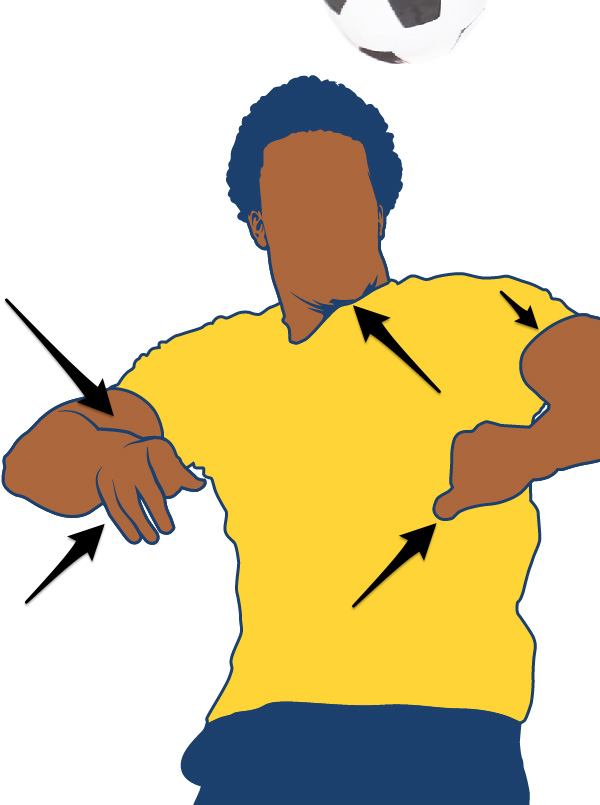

3. Add the Details
This part of work is most laborious. But at the same time it's the most fun and interesting.Step 1
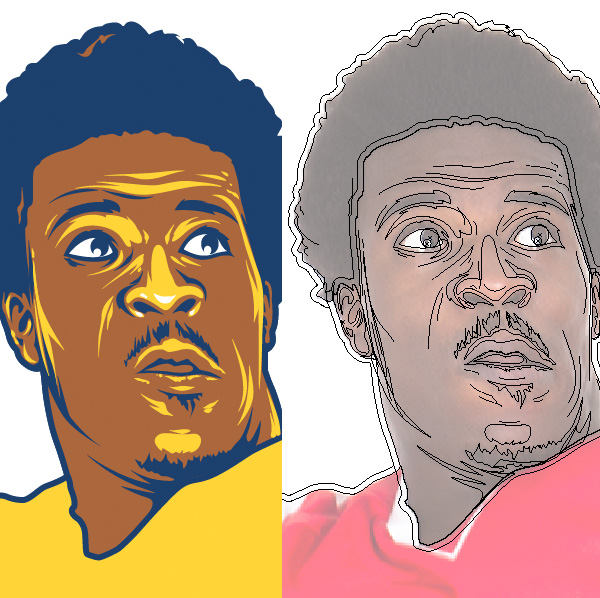
Starting from the top let's create face details using the Pen Tool (P). The Fill color is still deep blue. I decided to drop down the opacity level in Picture layer options to have better Preview.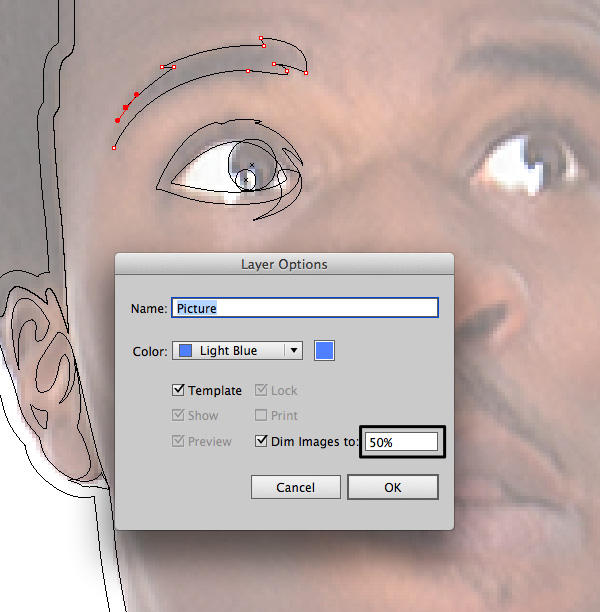
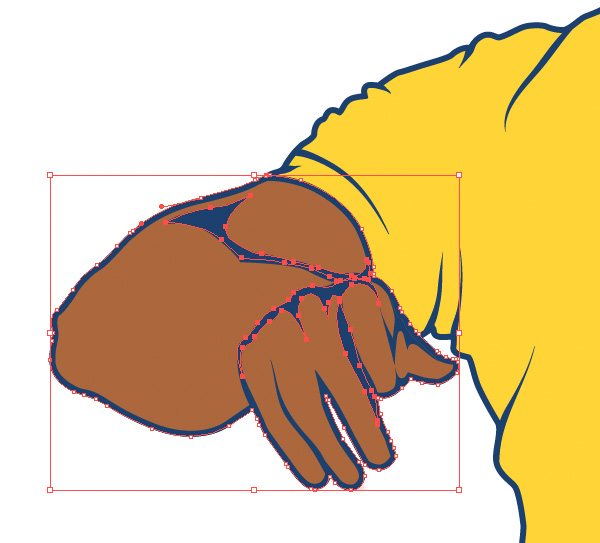
Step 2
Choose the yellow color for the fill and create the midtones areas. Don't forget to switch Preview mode all the time to see where you have to put this yellow color.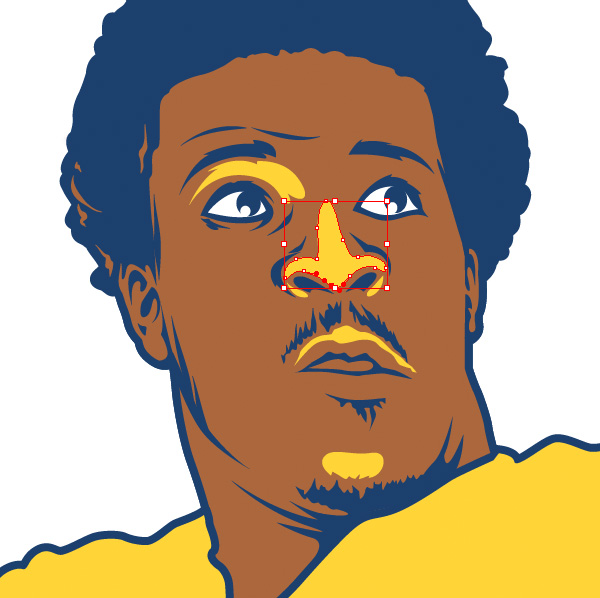
Step 3
Create a Calligraphic Brush for stylish artistic lines to make your artwork more detailed. Click the New Brush button in the Brushes panel and use the following settings.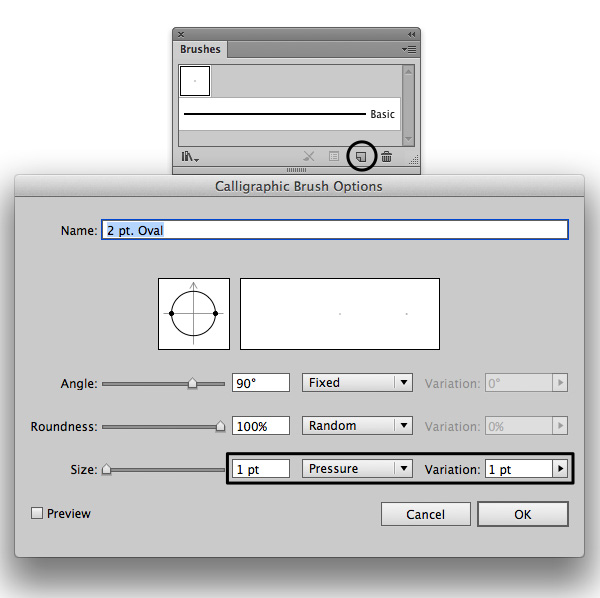
This is important part of work when you realizing how exactly your whole image looks like. The style your details have to be kept through the whole work process.
Step 4
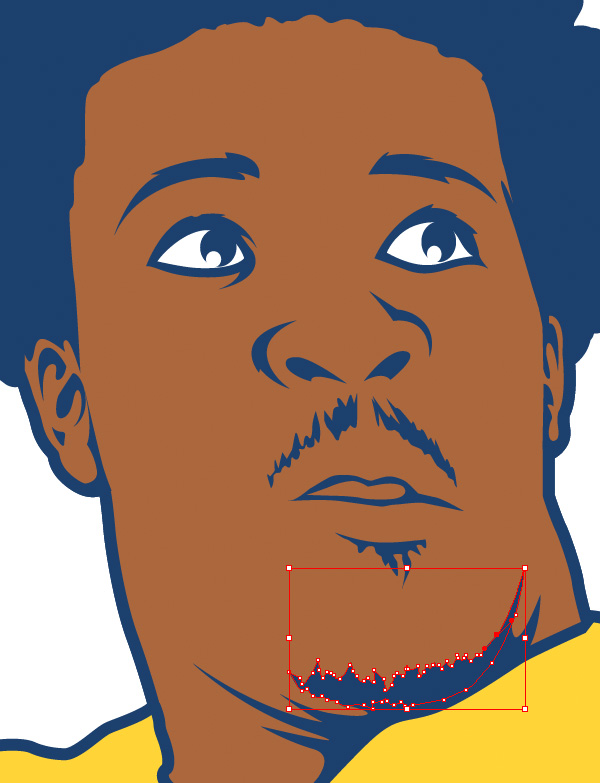
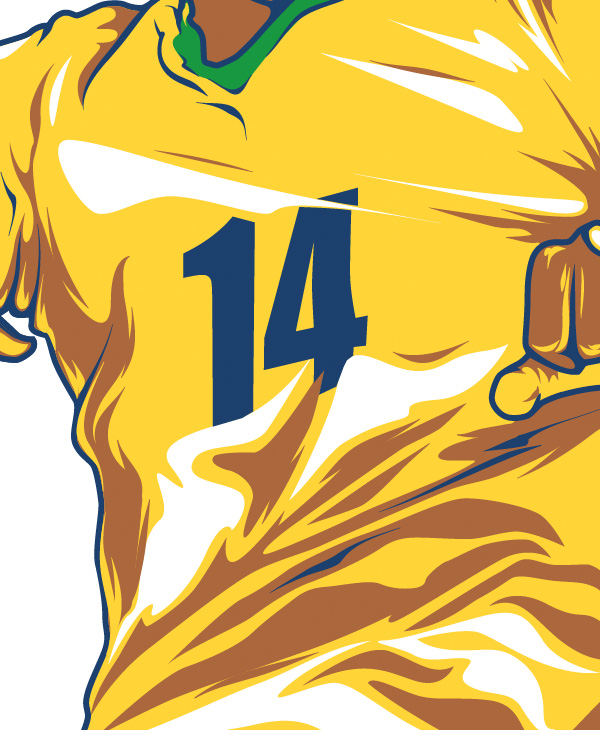
Add contour lights on hair with a brown color and some highlights on face using white. Continue going down and add shadows on t-shirt. Again use the Pen Tool for big solid areas and Brush for more detailed thin lines.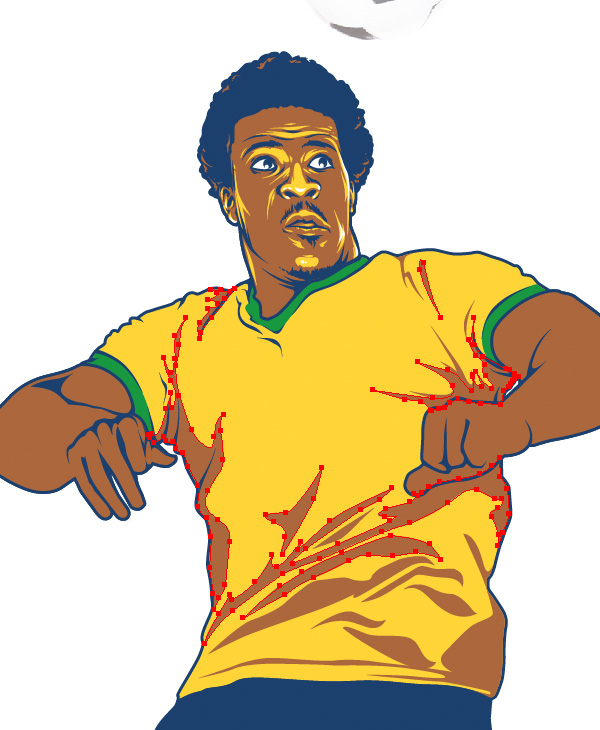
Step 5
There is a great way to make your shadows and highlights areas more detailed and stylish. Add sharp contiguous lines here and there just like I've done on pictures below.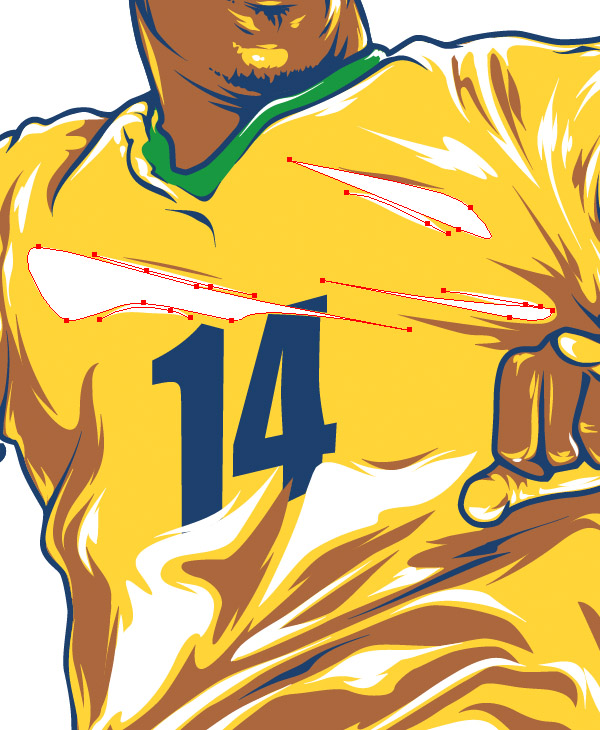
Step 6
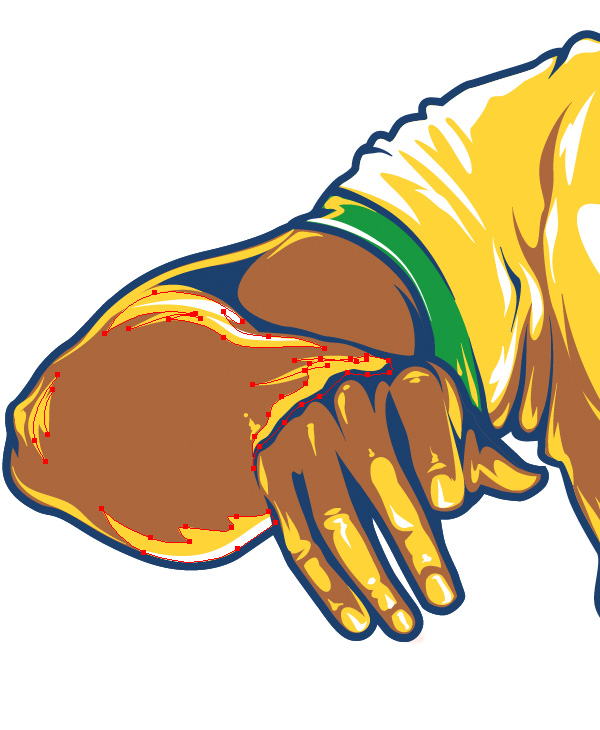
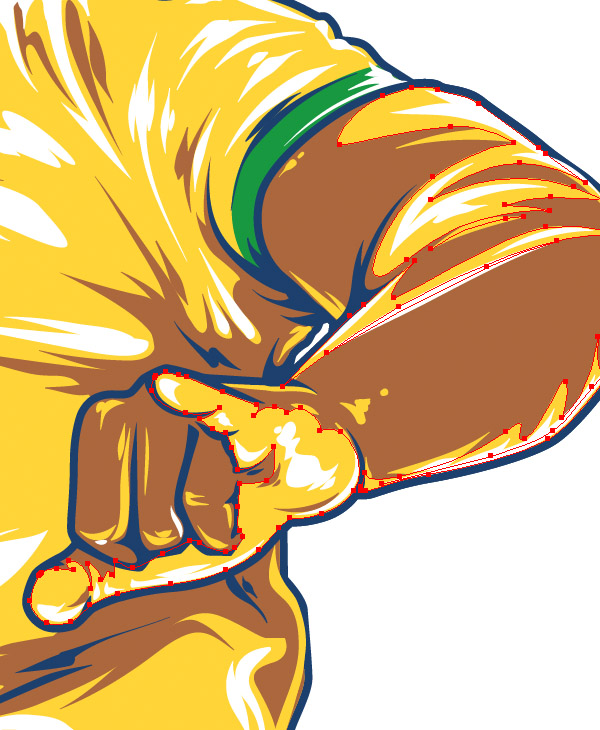
Pay attention to contour lights - thin lines on the sides. These lines gives great contrast. Create them using the Paintbrush Tool (B).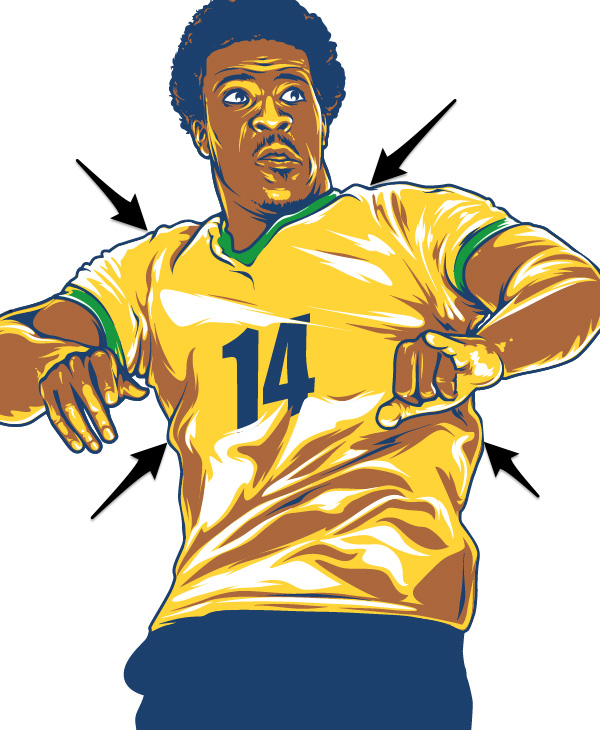
Step 7
Continue going down with details. Add green midtones and white highlights on the shorts.

Step 8
Still using the Paintbrush Tool add some decorative thin lines and little dots here and there to make illustration be more textured.
Step 9
Draw some lines on the gaiters and move to the shoes.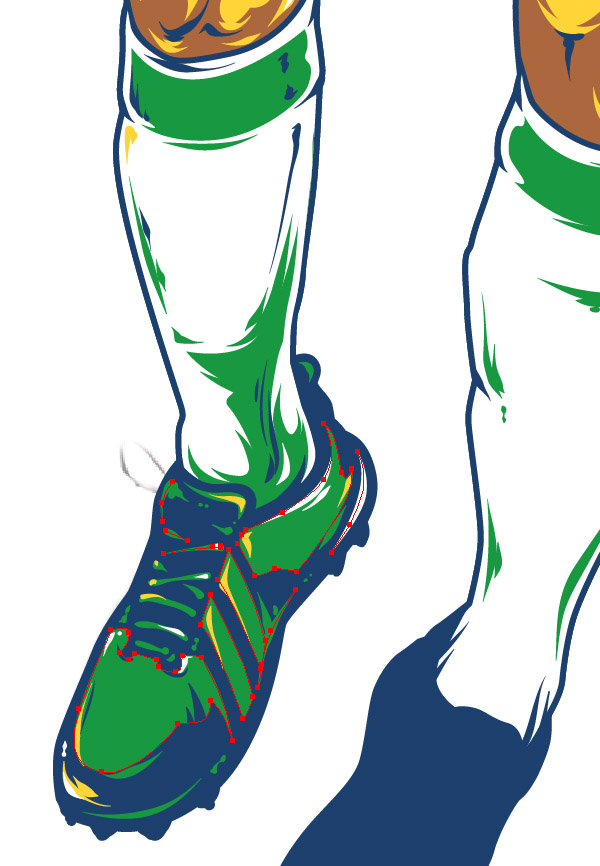


Step 10
Add the finishing touches: contrast lines, decorative dots, little scribbles. I add more curls to the hair, some wet drops on the face, few extra lines to the mustache and barb.

4. Create the Ball
You can create the ball same way you've done before with footballer. Nothing special. But I actually was using my old vector ball I created a long time ago. But it still works, and I'm gonna show you how.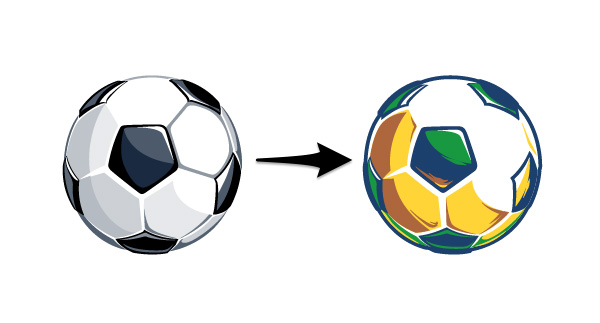
Step 1
Copy-paste the ball. Select the copy and press Unite button.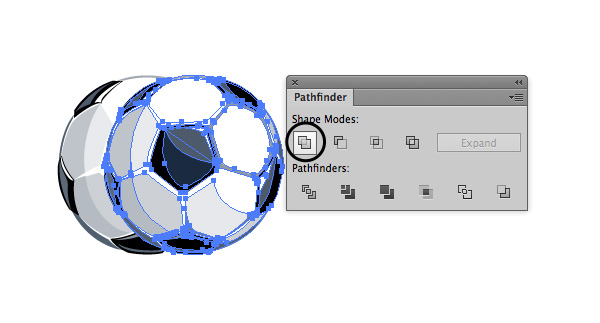
Step 2
Fill the result shape with deep blue color from your Swatches panel. Offset this path going to Object > Path > Offset Path (with the same setting as for footballer). Paste the resulting path to the back (Object > Arrange > Send to Back).
Step 3
Ungroup the ball on top and select all the black objects using Select > Same > Fill Color (but make sure you already selected at least one). And just change selected shapes black color to deep blue.

Step 4
Remove excess shapes and add extra lines using the Paintbrush Tool.
Step 5
Move the ball closer to the man. Pay attention to the light direction. It has to be the same with footballer. In this case rotate the ball if you need.
5. Add Texture to Your Illustration
Step 1
Go to the Layers panel and make Picture layer invisible. Create a New Layer above Picture. Choose the Rectangle Tool (M) and create a new rectangle 500 x 700 px. Fill it with#66999C.
Step 2
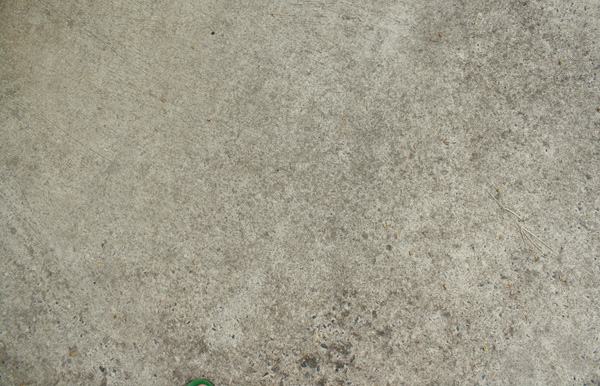
Create a New Layer above all and paste there some vector dirty elements. I was using my old vector scratches. But if you have nothing to use, I will show how to create it fast.Just take your camera and make a few shots of walls in your place or get outside and make some photos of asphalt. Dirty and scratched surfaces work best for this.


Push the Trace button when you're done and Expand it in top main menu. After that there will be a group of vector elements. Thats it!
Step 3
Change your dirty elements fill color to the same with background.

Step 4
Finally add some extra lines and splashes to get weathered retro look.

0 comments:
Post a Comment