

The
2014 FIFA World Cup kicks off (no pun intended!) this summer. No
doubt all eyes will be on Brazil as international teams compete for the
ultimate soccer trophy.
Do you have a World Cup party or event
coming up? A poster is a traditional but impactful way to advertise your
event. In this tutorial you’ll learn how to create a retro-inspired
poster using InDesign. Many thanks to Sergey Kandakov for the fantastic
vector illustration used in the poster here. You can learn how to create
your very own soccer player artwork in Sergey’s retro football player tutorial.
1. Set Up the Layout of the Poster in InDesign
Step 1
Open InDesign and select File > New Document. In the New Document window set the Intent to Print and set the No. of Pages to 1. Deselect Facing Pages. Under Page Size select ‘A3’. Maintain the default Portrait Orientation.

Step 2
Set the Margins on all sides to 10 mm and set the Bleed all round to 3 mm. Click OK.

2. Create Background Texture on Your Poster
Layers
are often under-used in InDesign, while creating and using Layers is
much more familiar to Photoshop users. We’re going to gradually create
10 Layers throughout this tutorial. This allows us to create a poster
with more depth, and apply effects easily to individual elements of the
design. Firstly, we’ll introduce a vintage-look papery background to the
poster.
Step 1
Open the Layers panel if not already open (Window > Layers).
Click on the Create New Layer icon at the bottom right of the Layers panel. Double-click the default ‘Layer 1’ name and rename this Layer ‘Paper Background’.

Step 2
Introduce a new frame using the Rectangle Frame Tool (F) and extend the edges to the edge of the Bleed. Go to File > Place and select a textured paper image. Here, I used this textured background image from Photodune. Click Open.
Use the Fill Frame Proportionally
icon in the top control panel to arrange the image, making sure none of
the edges of the paper are visible on the document. You just want to
use this image to create background texture.

Step 3
With the image frame selected go to Object > Effects > Transparency and select Soft Light from the Mode drop-down menu. Set the Opacity to around 50%.

3. Introduce Background Color to Make Your Poster Pop!
Step 1
Return to the Layers panel and, for now, lock the Paper Background Layer by clicking in the space next to the Eye icon.
Use the Create New Layer icon to open a new Layer. Rename this new Layer Color Background and Click OK.

Step 2
Introduce a new frame using the Rectangle Tool (M) and as before extend the edges of the frame to the edge of the Bleed on all sides.
Open the Swatches panel (Window > Swatches) and click on the New Swatch icon at the bottom of the panel. Create a new CMYK Swatch with the values C=74, M=7, Y=14, K=0, and rename this Swatch as ‘Background Blue’.
With the new frame selected set the Fill to Background Blue and the Stroke to [None].

Go to Object > Effects > Transparency and set the Mode to Normal and the Opacity to 55%. Click OK.
With the frame selected go to Edit > Copy.
Step 3
Return to the Layers panel and lock the Color Background Layer. As before create a New Layer and rename this as Color Background - Gradient.
Go to Edit > Paste in Place. With this second blue frame selected, go to Object > Effects > Transparency.
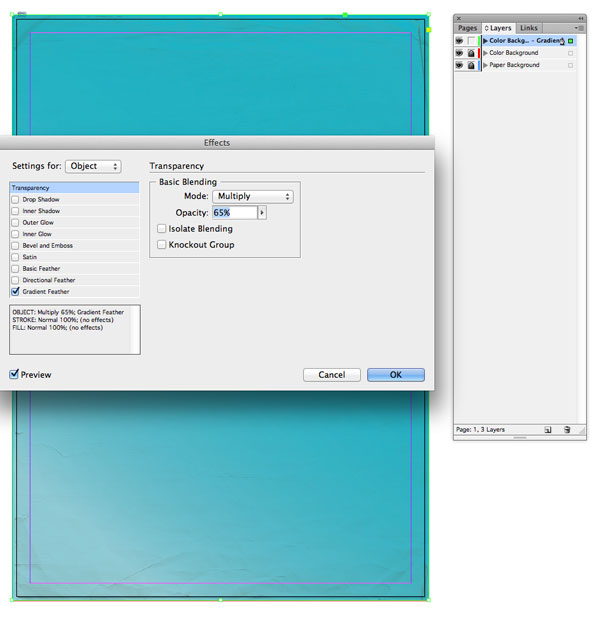
Adjust the Opacity from 65% to 55%.
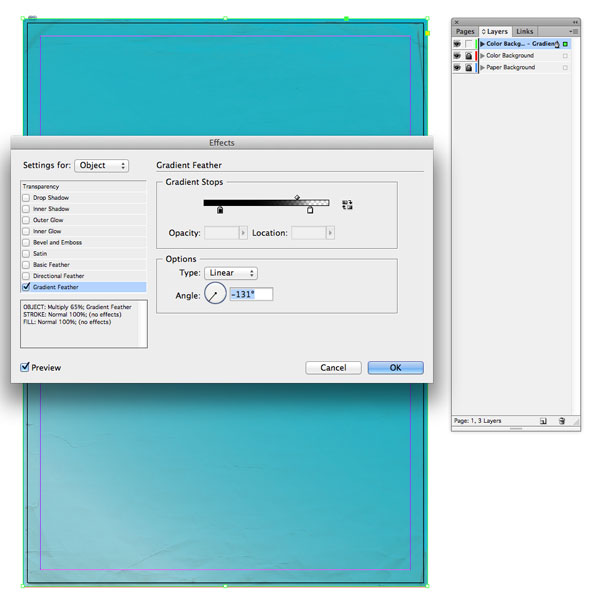
Step 4
At the bottom of the left-hand side of the Effects window click Gradient Feather. Set the Angle to -131 degrees and the Type to Linear. Play around with the Gradient Stops to create a subtle gradient effect stemming from the bottom left-hand corner of the poster.
4. Create a Vintage-Style Frame for Your Poster
Step 1
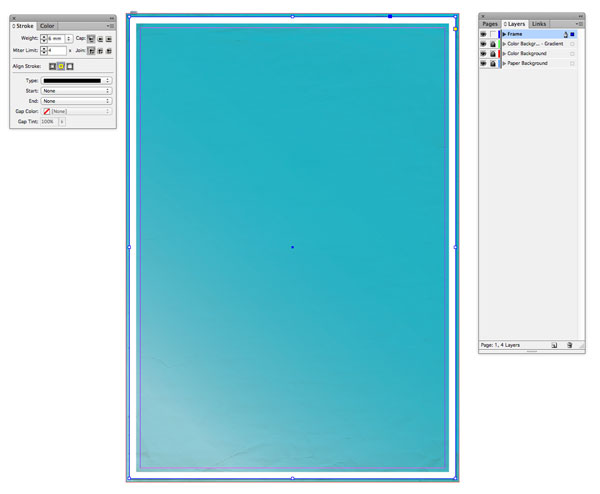
Return to the Layers panel and Lock the Color Background - Gradient Layer. Create a new Layer and rename this as Frame.
Create a new frame using the Rectangle Tool (M). Extend the edges to the edge of the document (not to the edges of the Bleed) and set the Fill to [None] and the Stroke to [Paper].
Open the Stroke Panel (Window > Stroke) and set the Weight of the new frame to 6 mm. Under Align Stroke select Align Stroke to Inside. Set the Type to Solid.
Step 2
Use the Rectangle Tool (M) to create a frame 297 mm in Width and 52 mm in Height. Set the Fill to [Paper] and position this at the top of the poster, resting against the top edge of the document.
Step 3
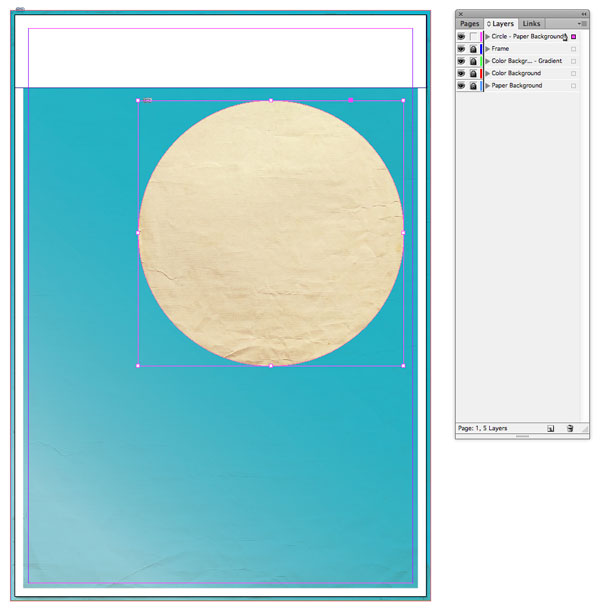
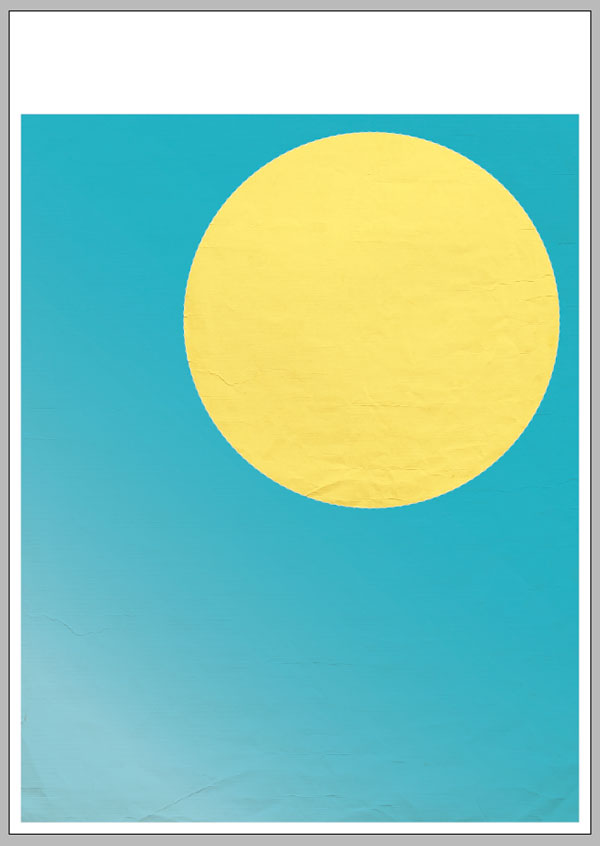
Return to the Layers panel and Lock the Frame Layer. Create a New Layer and rename this as Circle - Paper Background.
Using the Ellipse Tool (L) and holding down Shift while you drag, create a circular frame 191 mm in Diameter. Go to File > Place and select the paper image you used earlier. Click Open.
Double-click within the frame to directly select the image and resize it using Shift until
you are happy with the result. As before, no paper edges should be
visible - you just want to give the impression of texture.
Step 4
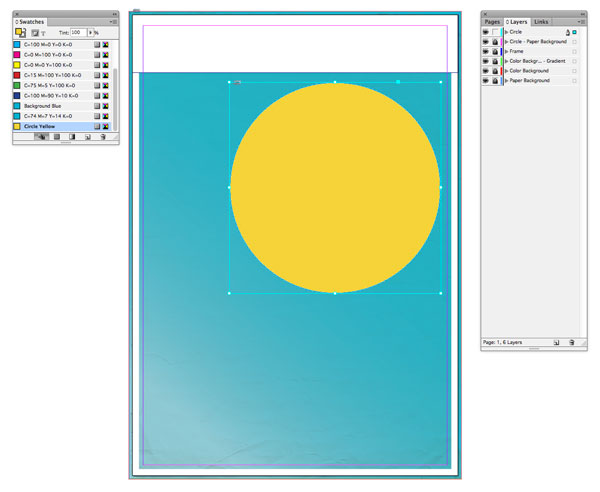
Return to the Layers panel and Lock the Circle - Paper Background Layer. Create a new Layer and rename this as Circle.
Use the Ellipse Tool (L), as before, to create a Circle 191 mm in Diameter. Place this directly over the Paper circle.
In the Swatches panel click the New Swatch icon and set the values of a new CMYK Swatch to C=5, M=13, Y=89, K=0. Rename this new Swatch Circle Yellow. Set the Fill of your new circular frame to Circle Yellow and the Stroke to [Paper].
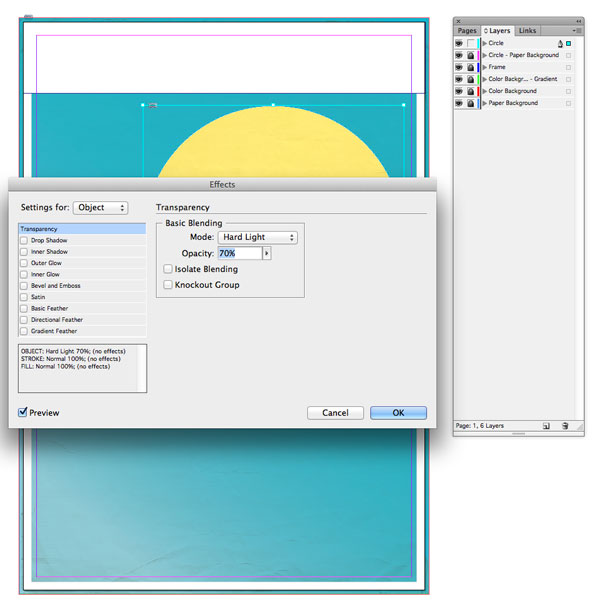
Step 5
With the yellow frame selected, go to Object > Effects > Transparency and set the Mode to Hard Light and Opacity to 70%.
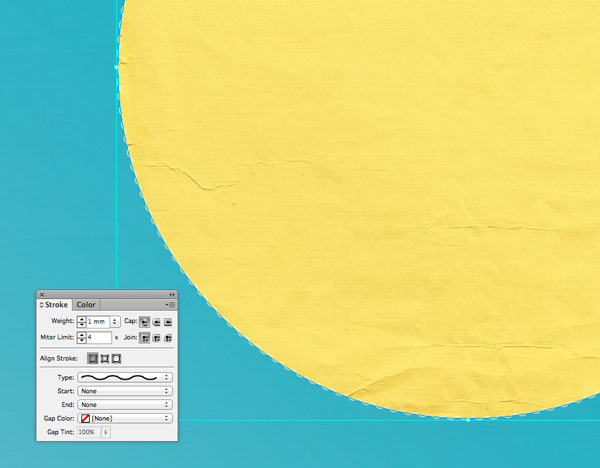
Step 6
Open the Stroke panel (Window > Stroke) and set the Weight to 1 mm and Type to Wavy.
The background of your poster’s looking great; now let’s start adding some content.
5. Introduce a Striking Focal Image
However
crowded your poster might be with text and other elements, it is always
important to ‘anchor’ your design with one main image, which creates a
focal point and immediately draws the eye. Here, I’ve been lucky enough
to be able to use Sergey Kandakov’s really cool, retro-style illustration of a soccer player.
Step 1
Lock the Circle Layer in the Layers panel and create a New Layer. Name this Soccer Player.
Introduce a new frame using the Rectangle Frame Tool (F) about 430 mm in Height and 175 mm in Width. Go to Edit > Place. Select an EPS file with a transparent background, like Sergey’s vector here. Click Open.
Use the Fill Frame Proportionally
icon in the top control panel to fit your image snugly in the frame. To
give a sense of movement, extend the bottom of the image over the
bottom of the white frame and allow the top of the image to just reach
over the top white frame as well.

6. Use Exciting Typography to Communicate Your Message
We’ll use the soccer player image as a rough frame to position text around. We’ll have two sorts of text - firstly, the headline, and secondly, the details. Let’s create a striking headline first.
Step 1
Firstly, we need to select a suitable headline font. I’ve gone for DayPosterBlack - it’s great in All Caps, and has a slightly Retro, even Art Deco, feel.
In the Layers panel, Lock the Soccer Player Layer and create a New Layer. Rename this as Text.
Type ‘WORLD CUP 2014’ and set the Font to DayPosterBlack Regular, Size to 81 pt and set the text to Align Center from the Character Formatting Controls panel at the top of your screen. Insert a couple of spaces between ‘CUP’ and ‘2014’ to fit the soccer ball in between (or increase the Kerning value).
With the text frame selected, hover the Eyedropper Tool (I) over the dark navy of the soccer player’s shorts and Click Once. The Tool may pick this up as an RGB Swatch. You can double-click the Swatch square in the Tools Panel to open the Color Picker Window. Click in the C, M, Y, or K value box to allow you to click Add CMYK Swatch.
In the Swatches panel (Window > Swatches) rename this as Poster Navy.

Step 2
We
ideally want to stretch the text to give it a more retro look. If you
look at vintage posters, often the margins are very narrow, and text is
stretched or manipulated to fill empty space.
With the text frame selected go to Type > Create Outlines. Your text has now been converted to a group of shapes.
Use the Selection Tool (V, Escape) and
drag the bottom of the frame to stretch the text vertically. Pull it
down until you have a very narrow gap between the bottom of the white
frame and the text. Allow a little more space above the text to give an
authentic retro feel to the headline.

Step 3
Go to the Layers panel and click and drag the Text Layer to sit beneath the Soccer Player Layer, and above the Circle Layer.

Step 4
Introduce a new text frame on the same Text Layer 117 mm in Height and 162 mm in Width. Position this in the lower left corner of the poster.
We
want to introduce a second font here. It needs to have a retro look,
but also look suited to the Brazilian setting of the tournament and have
a less formal feel than the headline. I’ve gone for Bahiana, which is really fun.
Type ‘RIO (paragraph break) BRAZIL’ in All Caps and set the Font to Bahiana Regular. Highlight ‘RIO’ alone and set the Size to 400 pt and the Font Color to Circle Yellow.
Highlight ‘BRAZIL’ alone and set the Size to 186 pt and the Leading to 150 pt. Introduce a New CMYK Swatch in the Swatches panel with values C=84, M=15, Y=100, K=2 and rename this Poster Green.

Move the text frame to the left using the Selection Tool (V, Escape) so that the text rests exactly on the margin. You may need to decrease the Tracking before ‘BRAZIL’ to allow the two lines of text to line up precisely.

Step 5
You
can now add in more text details, such as a time, place and/or date for
your event. Here, I’ve just inserted the names of a couple of cities
where the games will be hosted.
Here I introduced another text frame using the Type Tool (T) and positioned this above the ‘RIO/BRAZIL’ frame. I varied the Font Size and Leading of the text to wrap around the Yellow Circle, while maintaining a tight, unified look to the block of text.
I also introduced [Paper] as a neutral Swatch that works well with the Circle Yellow and Poster Green Swatches.

Your poster’s looking really super and the main layout is now in place. We can add just a little finishing touch to give it that extra depth and an authentic retro feel.

7. Give Your Poster Background a Sense of Movement
Step 1
Create a New Layer in the Layers panel and rename it Stripes - Inner. Switch off the Visibility of the Text and Soccer Player Layers for now.
Drag a Horizontal Guideline from the Top Ruler (View > Show Rulers) to the Center point of the Yellow Circle and drag a Vertical Guideline across from the Left-hand Ruler to the Vertical Center point of the Yellow Circle.
Using the Ellipse Tool (L) and holding down Shift, create a circular frame 204 mm in Diameter, and position it centered on the guidelines and the Yellow Circle. Set the Fill to [None] and the Stroke to Circle Yellow, reducing the Tint value to 40%. In the Stroke panel, set the Weight to 1 mm and the Type to Thick - Thin.
Go to Edit > Copy > Edit > Paste in Place and increase the Diameter of this second circular frame to 220 mm. Repeat this step, copying, pasting and increasing
the diameter by a little more each time (you want the circles nearest
the Yellow Circle to be closer together, getting further apart towards
the edges of the poster).

Step 2
You can split the Circles across two or more Layers (e.g. Stripes - Inner and Stripes - Outer) to give you more control over selecting the frames and applying effects.

Here, I selected pairs of frames at a time, and applied a graduating Opacity (Object > Effects > Transparency) ranging from 80% for the innermost circles, down to 40% for the outermost.

Your background’s looking amazing - good work!

Switch on the visibility of all the Layers and sit back and admire your work - well done!

0 comments:
Post a Comment