Did you know you can easily create things like barcodes and calendars
with a single click? Let's take a look at these Inkscape's Extentions
and more!
We've all seen that Extensions drop-down menu in
Inkscape, but it can be a little intimidating. Fortunately though, it
contains really efficient ways to do complex operations as well as
fairly simple ones too. Let's go over the most useful extensions as of
Inkscape v0.48.4
Extensions are just one element of my new course, Advanced Techniques in Inkscape, that I will walk you through. Check the introduction below to find out more before we jump in with this tutorial.
1. Restack
Step 1
The very first extension in fact is Restack and it's quite useful if you happen to have a bunch of overlaying objects.

Step 2
What
Restack does is change the z-index of each object to your desired
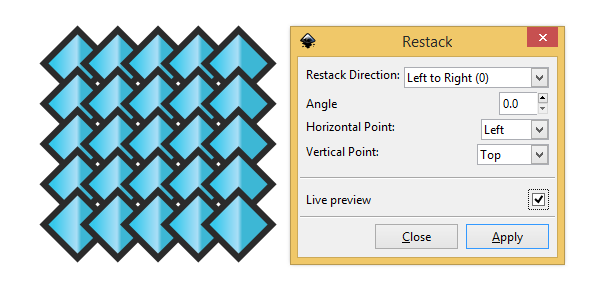
specifications. Go ahead and select your objects then head up to Extensions > Arrange > Restack to open up the dialog box. As you can see below, my diamonds are already stacked from Left to Right, so nothing changes here.
Step 3
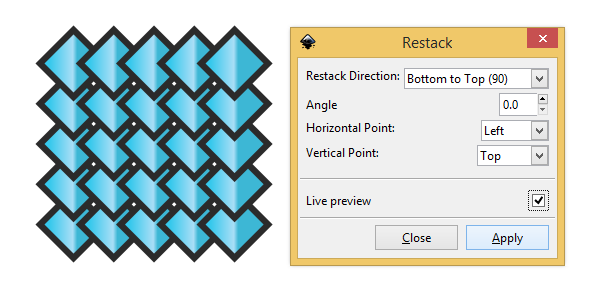
The Restack Direction has a good amount of options, all of which are self-explanatory. I've selected Bottom to Top and as long as you have Live preview checked,
you'll notice the changes right away. This option starts stacking from
bottom to top according to each shapes Top-Left bounding box corner.
Step 4
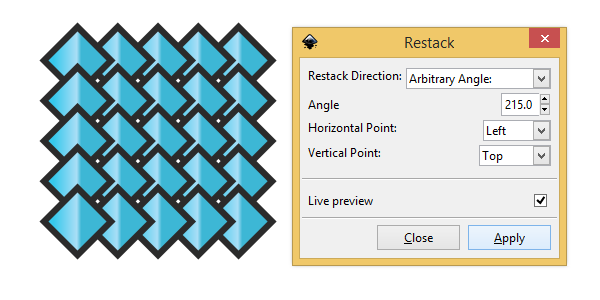
The other option that differs is Arbitrary Angle, where you get to define an Angle in which to stack. 215 degrees stacked my shapes from the top-right corner to the bottom-left corner.
A slight issue I came across personally was that Live preview wouldn't work unless I unchecked and rechecked it after every time I changed something.
2. Color Extensions
Step 1
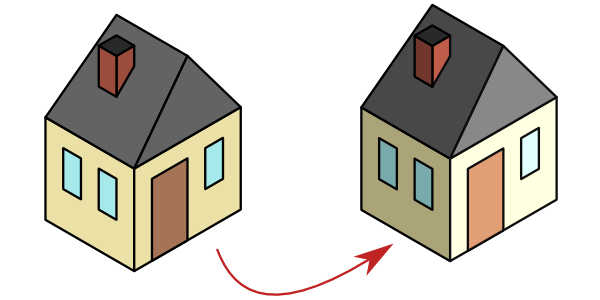
There are a bunch of options in Extensions > Color, but they're all very straight forward. I'll compare my original drawing with a color adjusted one. Below, I've selected Grayscale.

Step 2
And here, I selected individual parts of my drawing to make Brighter and Darker for some quick shading.
Step 3
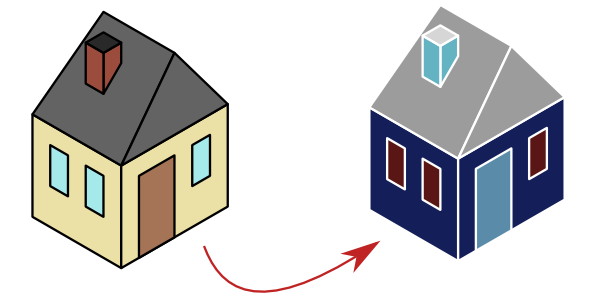
Of course, we can see the Negative of our drawings as well.
Step 4
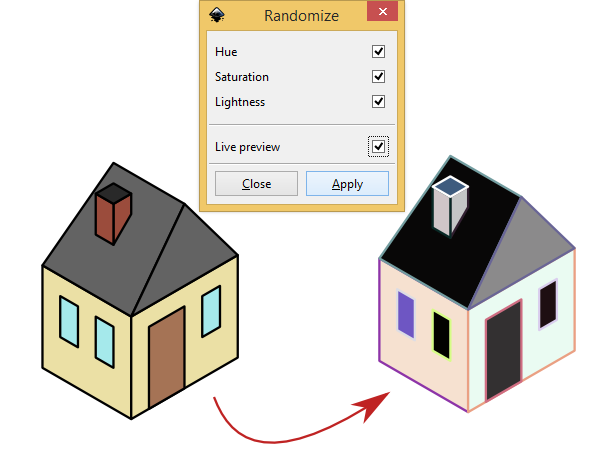
Or just go crazy with Randomize!
Step 5
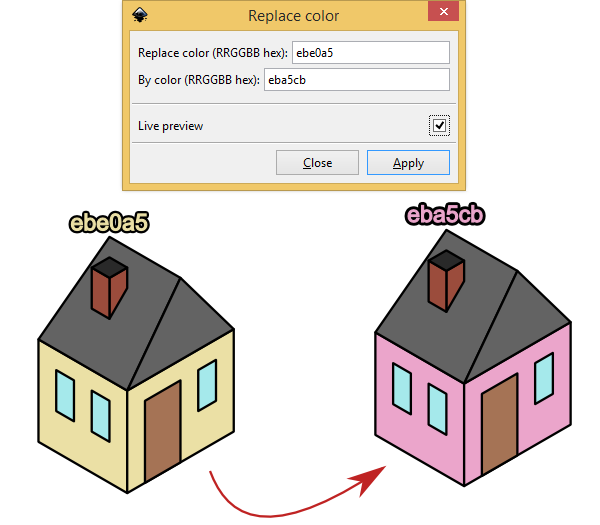
One of my favorites is Replace color, which is easily used by entering old and new hex color codes.
3. Extrude
Step 1
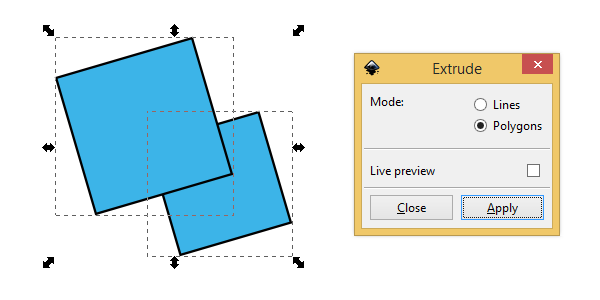
This
is a great way to take any two shapes and turn them into a extruded 3D
object. Go ahead and select two shapes in which to extrude and head up
to Extensions > Generate from Path > Extrude to bring up the dialog box.
Step 2
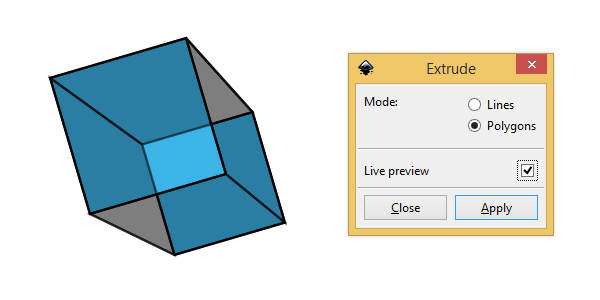
I'm going to check Polygons and Live preview
to give me what you see below. This new extruded part of your object is
actually a separate group of polygons (which can be edited to your
liking).
Step 3
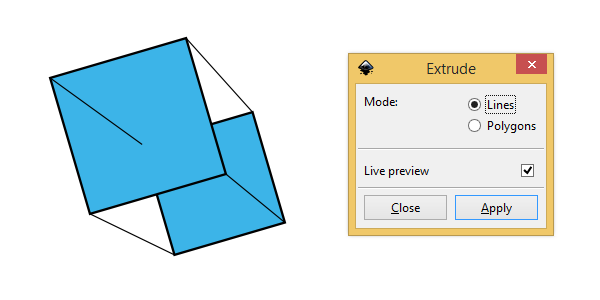
The less glamorous option is Lines, which simply draws the extrusion lines.
4. Interpolate
Step 1
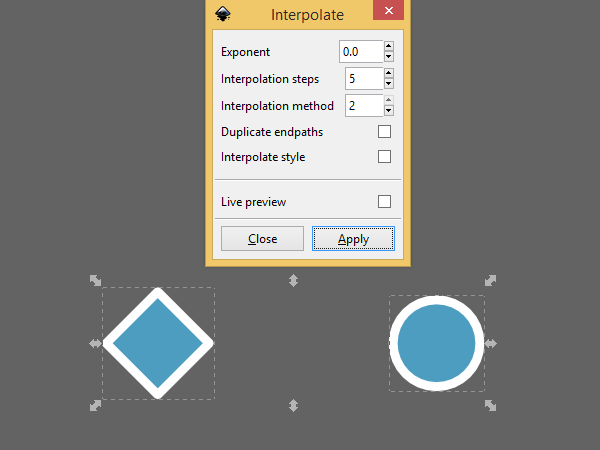
A
fancy word to fill in the space between two paths with the gradual
placement of specified paths. Go ahead and select a couple of
objects/paths and click Extensions > Generate from Path > Interpolate.
Step 2
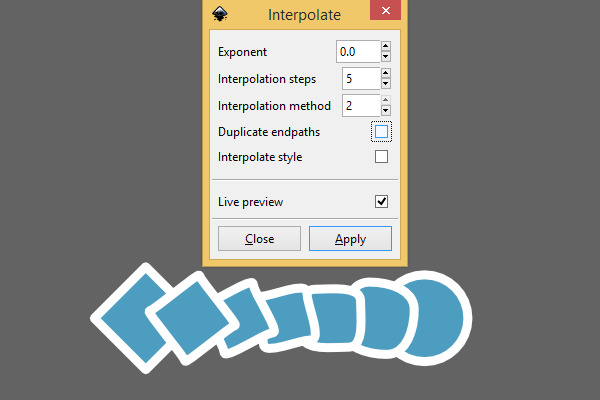
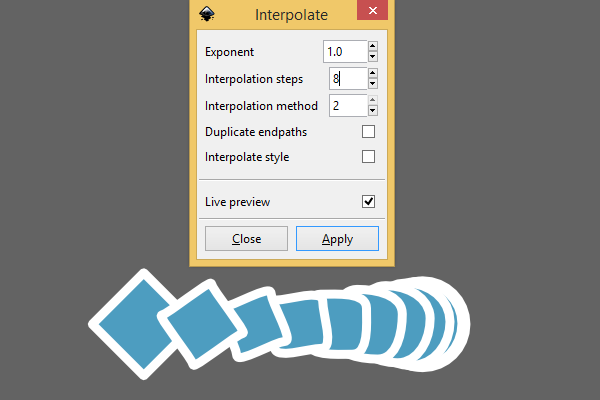
Let's check Live preview and watch the magic happen! Interpolation steps is the number of paths to place between the two selected objects. I also unchecked Duplicate endpaths because redrawing my original shapes seems unnecessary.
Step 3
I went ahead and packed 8 Interpolation steps in there along with an added Exponent of 1.0 which exponentially increases/decreases the position of the steps.
Step 4
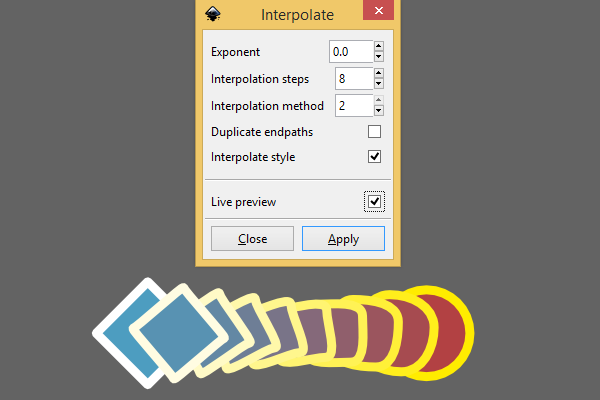
And if our two original objects happened to have different styles, we could go ahead and check Interpolate style.
5. Embed/Extract Images
Step 1
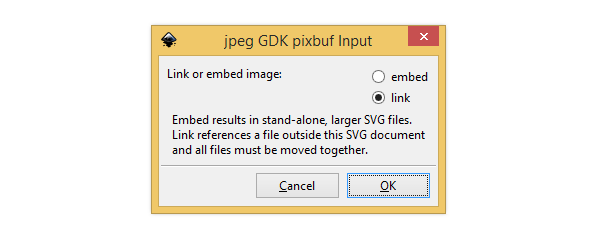
If
you've ever imported a bitmap into Inkscape, it's likely you've seen
this dialog box before. It simply asks you if you'd like to embed the
image or link it. I say, let's link it to keep or file size down... but
what if that was the wrong decision?
Step 2
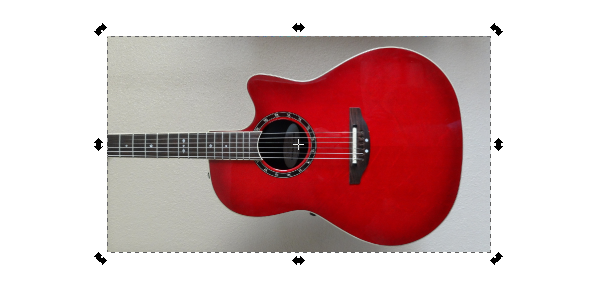
It might seem like I have my beautiful guitar picture locked in, but before you know it...
Bam! I accidentally renamed or deleted my image or something and you end up with the saddest image of all.
Step 3
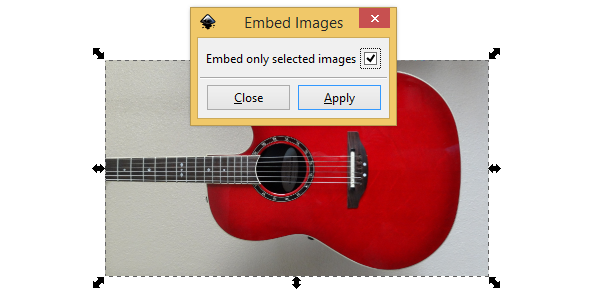
Thankfully, next time I link an image and decide I want to embed it, I can just head up to Extensions > Images > Embed Images. You can either embed all of your images, or individually select the ones you want.
Step 4
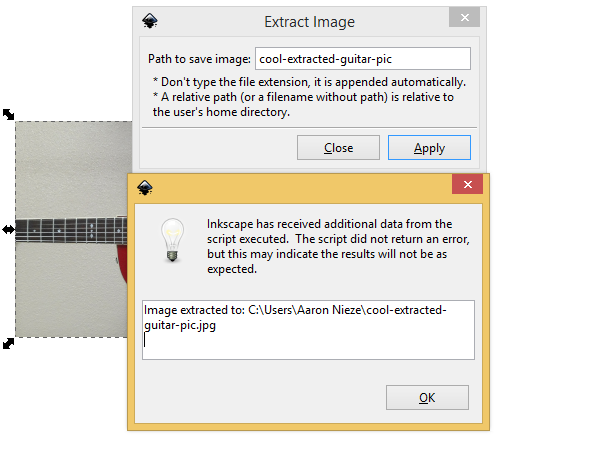
Alternatively, you can go ahead and click Extract Image instead. This is nice if you happen to pass your Inkscape document on to somebody else and they want your source image.
6. Envelope and Perspective
Step 1
Now,
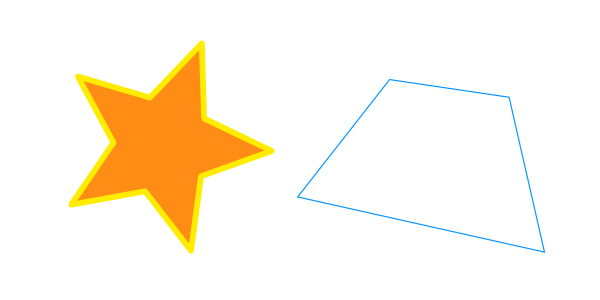
you'll need a secondary path to use as a guide for these operations.
Make sure it only contains four corners and only straight lines. Go
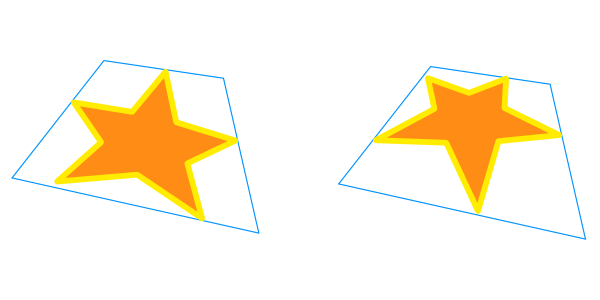
ahead, and select both objects and head up to Extensions > Modify Path to find both Envelope and Perspective.
Step 2
These are both essentially the same operation, except that perspective applies the extra effect. Below, I have my Envelope transformation and my Perspective transformation,
respectively. You can see the difference - envelope just sort of crams
your object into a path while perspective keeps the shape proportionate
to the perspective.
7. Other Useful Modify Path
Step 1
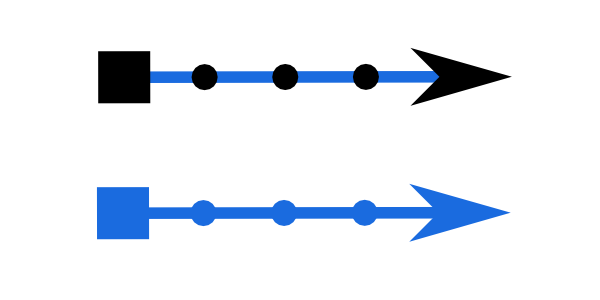
If you've ever used markers on paths, then you know they're always black no matter what. Fortunately, Extensions > Modify Path > Color Markers to Match Stroke is a terrific way to do this!
Step 2
And
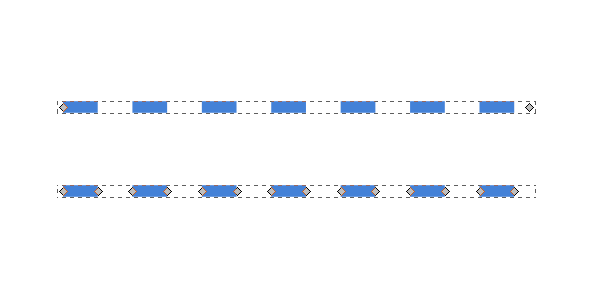
if you've ever applied dashes as a stroke style, there may have come a
time where you'd like to separate them as individual paths. Well, here
comes Extensions > Modify Path > Convert to Dashes. The
name is a little misleading as it's not converting to dashes - it
already is dashes. I think Dashes to Paths would be a more suitable name
perhaps.
8. Render
Step 1
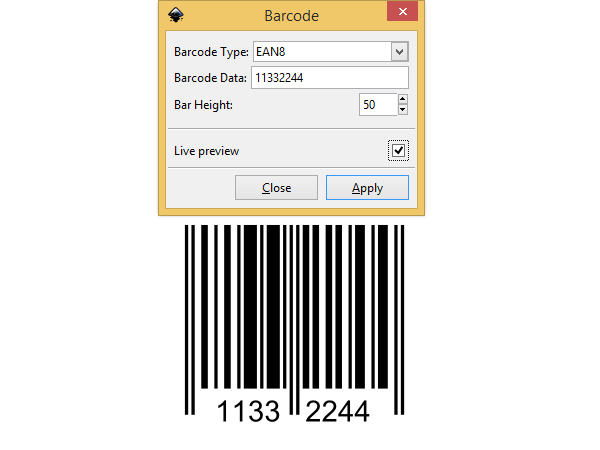
If you ever need a barcode for your package design, simply head up to Extensions > Render > Barcode. There's a bunch of coding options and the rest is simple.
Step 2
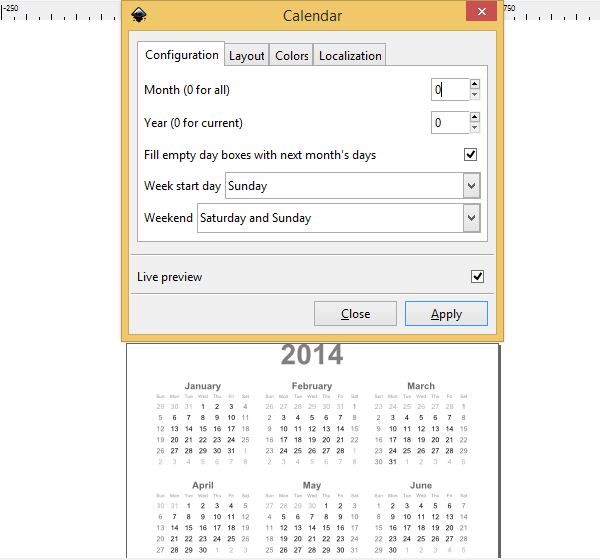
Perhaps
you've needed to create a completely customized calendar in, say, 5
seconds? Amazingly, you can do just that by clicking Extensions > Render > Calendar. There's a bunch of options for styling as well. How cool is this?
Step 3
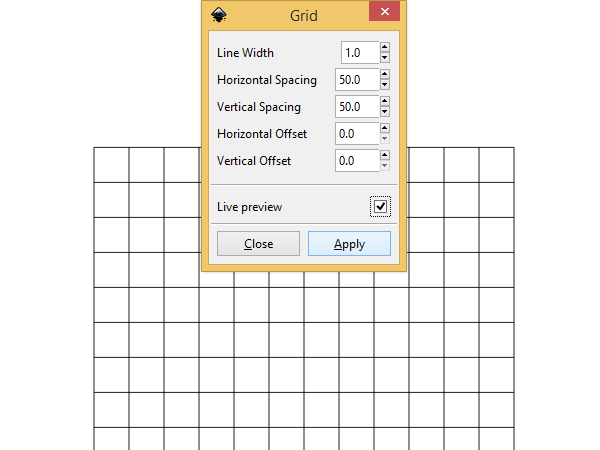
Also, if you've ever wanted to include a grid in your drawing, Extensions > Render > Grid is the way to do it. It's also a great way to draw tables!
That's It!
We
just went over a bunch of Inkscape extensions - can you believe there's
even more? Hopefully, this narrowed down list of the most useful
extensions will help you get around Inkscape more efficiently. Some of
these extensions are just plain cool though! Thanks for reading.


0 comments:
Post a Comment